Easy 3 Ingredient Single Pie Crust
Create the perfect pie crust with our Easy 3 Ingredient Single Pie Crust. It's quick, foolproof, and oh-so-flaky.

Easy Pie Crust Recipe
Looking for a stress-free flaky pie crust recipe that delivers every time? My Easy 3-Ingredient Pie Crust recipe is your answer.
With just flour, shortening, and salt (and a little bit of water) you can whip up a flaky crust in no time.
Whether you're a seasoned baker or a newbie in the kitchen, if homemade pies are your love language, this recipe promises success with every pie.
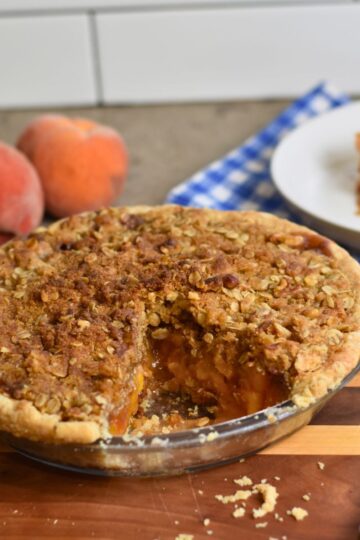
This crust will become your go-to for all your pie recipe making needs. It's perfect for sweet pies like our Mini Cherry Pies, Chocolate Cream Pie, and Peanut Butter Pie, or savory pies like Quiche and Chicken Pot Pie.

Ingredients for Easy 3 Ingredient Single Crust
Simple ingredients with fantastic results.

- All Purpose Flour - Provides the body of the dough. Do not use self-rising flour.
- Shortening - Solid fat that is very neutral in flavor. The melting of the shortening creates steam and the flaky little pockets in your finished crust.
- Kosher Salt - Brings flavor to the crusty layer of your pie. Without it, the crust is flavorless.
- (COLD Water) - Needed to bring the dough together. Make sure it's cold. Some people even go as far as using ice water.
See recipe card for quantities.
How to Mix Pie Dough for Easy 3 Ingredient Single Pie Crust
Homemade pie crust making takes some practice. But these are the simple steps for making the best homemade crust you've had in your mouth.

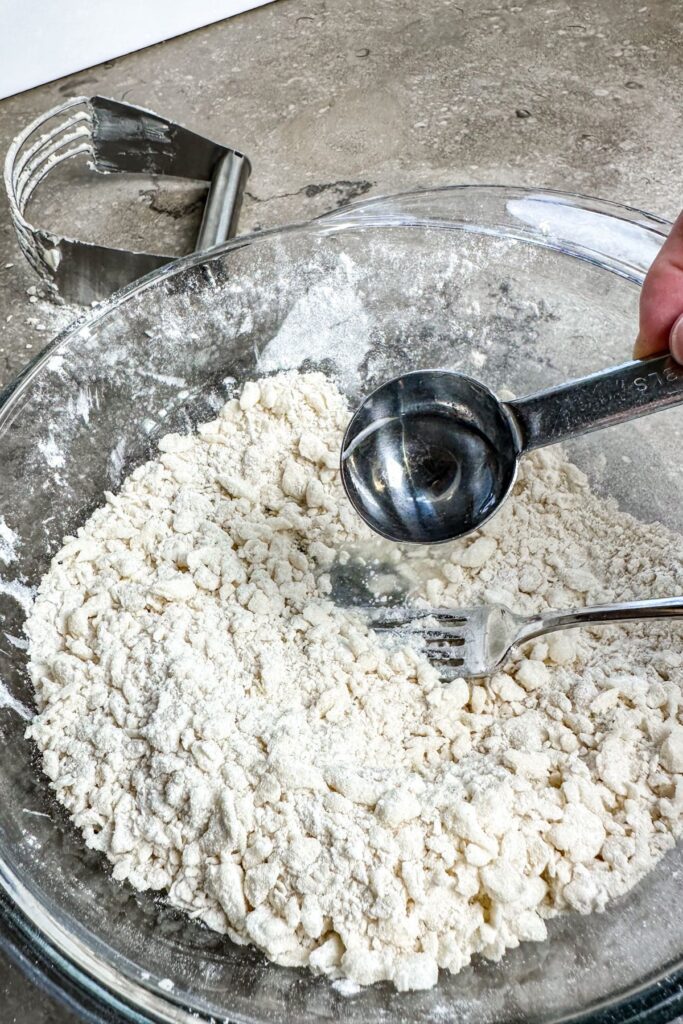

- Combine flour and salt in a large bowl.
- Add shortening to the flour mixture. Use a pastry blender or your fingers to mix until small balls of flour-covered shortening remain. Do NOT over-mix. Less is better here.
- Add COLD water 1 Tablespoon at a time. Using a fork, I like to work from one edge and bring more flour/shortening mixture to the wetter dough as I add water. I used 5 Tablespoons this time. Handle as little as possible for the flakiest crust.
How to Roll Out Pie Dough
- When dough comes to a ball you are ready to roll out. Sprinkle a light coating of flour on your surface to prevent the dough from sticking.
- On the lightly floured surface, flatten the ball of dough with your hands into a round disk. Use a rolling pin to roll the dough thin and to an even thickness. Sprinkle with flour if needed.
- Roll from the center until the pie dough is large enough for your pie dish. Mine is a large 9-inch pie pan.
- Test the ideal size by placing your pie pan on top of the rolled-out dough. Make sure the dough is able to come up the sides.


How to Move and Shape Pie Dough


- Place the rolling pin on the pie dough furthest from you. Pick up the edge of the dough and roll it onto the rolling pin.
- Transport the crust to the pie pan. Position at the edge of the pie pan and unroll giving slack into the bottom of the pie pan.
- Trim extra dough if needed leaving some dough hanging over the edge. Fold extra dough under around the edges of the pan and crimp with your fingers.
Hint: I like a simple crust edge but there are lots of creative ways to finish the crust edge. Consider alternating pinches for a fluted edge. Crimp with a fork for an old-fashioned look.
Using Easy 3 Ingredient Pie Crust
Depending on how you plan to fill the crust this dough can be cooked several ways. Follow the directions for the pie you are making. Generally,
- Par-Baked or Pre-Baked - Used to ensure a crisp bottom crust when filling with fruit or some custard fillings that will be finished in the oven. The crust finishes baking once a filling is added and it's returned to the oven. I par-bake my crust when making quiche.
- Pre-Baked - Used when the pie filling will not be further baked such as a cream pie filling or Blueberry Strawberry Pie.
- TOP TIP: Brush with an egg yolk beat with 1 Tablespoon of water before baking at 425 degrees until lightly browned.
- Cooked with the filling - Some pie fillings don't require the crust to be pre-cooked. I don't precook my crust when making an apple pie, pecan pie, or pumpkin pie.
Storing Easy 3 Ingredient Pie Crust
Wrap the flattened disk of pie crust in the fridge for 2-3 days before rolling out.
You can also roll the crust out and place it in the pie pan. Wrap it in plastic wrap to prevent it from drying out.
How to Make a Double Crust Pie
Simply double the recipe ingredients to make a double-crust pie.
Top tip
Try to only roll your pie crust out one time. The more you handle it and roll it out, the more flour-covered fat balls you destroy. This will result in a tough pie crust.
FAQ
The dough should be ⅛" thick and 1" wider than the pie plate. Make sure the dough is rolled out evenly for best results.
If you added too much water then simply sprinkle a little more flour. The dough should hold together but not be sticky.
If the dough starts to warm up and becomes too difficult to handle, chill for 10 to 15 minutes.
This usually happens when the dough is overworked, this can happen either during the initial mixing or during rolling and shaping. Handle the dough just enough to bring it together and roll out once, if possible.
Don't give up, though. Pie crust making is a bit of an art. Just try again.
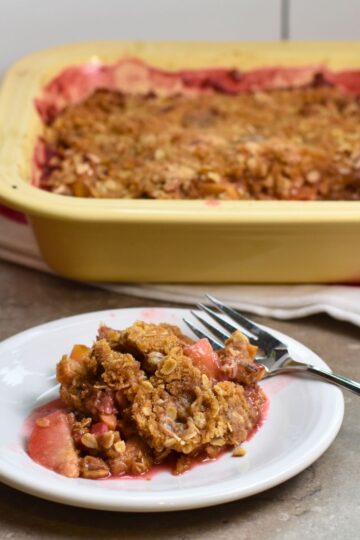
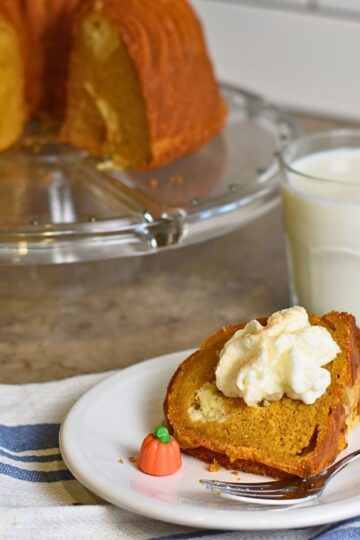
Related
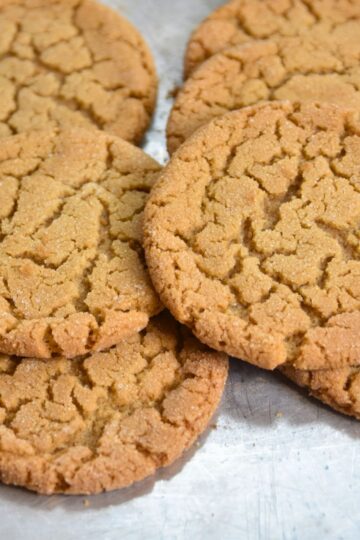
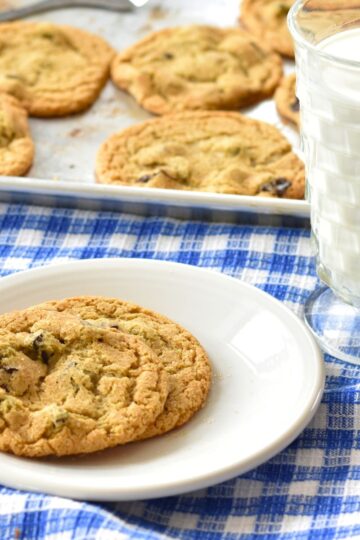
Looking for a sweet treat to try? Try these:

Pairing
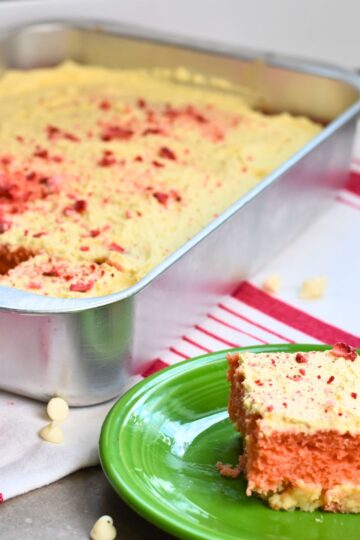
Some of my favorite recipes for you to give a try:

HAVE A QUESTION? ❤️
Leave a comment and I'll do my best to answer you!
And, if you made this recipe, please let me know how you liked it by leaving a comment and/or giving a rating!
And of course, if you do make this recipe, tag @laughingroostereats on Instagram and hashtag it #laughingroostereats! Seeing your photos is our favorite thing!
Food safety
We sometimes take for a granted that we have years (or decades) of cooking experience, that the average visitor may not. Add to, or remove from, the list below with health and safety tips.
- Do not use the same utensils on cooked food, that previously touched raw meat
- Wash hands before cooking
- Don't leave food sitting out at room temperature for extended periods
- Never leave cooking food unattended
See more guidelines at USDA.gov.
Easy 3 Ingredient Single Pie Crust
Ingredients
Method
- Combine flour and salt in a large mixing bowl.1 ¼ cups All Purpose Flour, ½ teaspoon Salt
- Add shortening to the flour mixture. Use a pastry blender or your fingers to mix until small balls of flour-covered shortening remain. Do NOT over-mix. Less is better here.½ cup Shortening
- Add COLD WATER 1 Tablespoon at a time. Using a fork, I like to work from one edge and bring more flour/shortening mixture to the wetter dough as I add water. I used 5 Tablespoons this time. Handle as little as possible for the flakiest crust.
- When dough comes to a ball you are ready to roll out. Sprinkle a light coating of flour on your surface to prevent the dough from sticking.
- Flatten with your hands into a round disk. Use a rolling pin to roll out thin and even thickness. Sprinkle with flour if needed.
- Roll from the center until the pie dough is large enough for your pie pan.
- Test the ideal size by placing your pie pan on top of the rolled out dough. Make sure the dough is able to come up the sides.
- Place the rolling pin on the pie dough furthest from you. Pick up the edge of the dough and roll it onto the rolling pin.
- Transport the crust to the pie pan. Position at the edge of the pie pan and unroll giving slack into the bottom of the pie pan.
- Trim extra crust if needed leaving some dough hanging over edge. Fold extra dough under all around the edge and crimp with your fingers.
This crust is what a crust should be. Simple, flaky and yummy! I hope it inspires you to make a pie. Heck double it and make one for a friend.
Yes, buying premade pie crust is easy, but this tastes so much better!! I still struggle with transferring it into the pie plate but a little water allows you to "glue" it back together.
I'm so proud of you!!! 🙂 Thank you for the kind review. Pie making is an art and it takes practice, you will have it mastered in no time!