
Cream Cheese Mints
Vintage melt-in-your-mouth Cream Cheese Mints with 5 simple ingredients. No baking, no candy thermometer, and they freeze beautifully for parties and holidays.
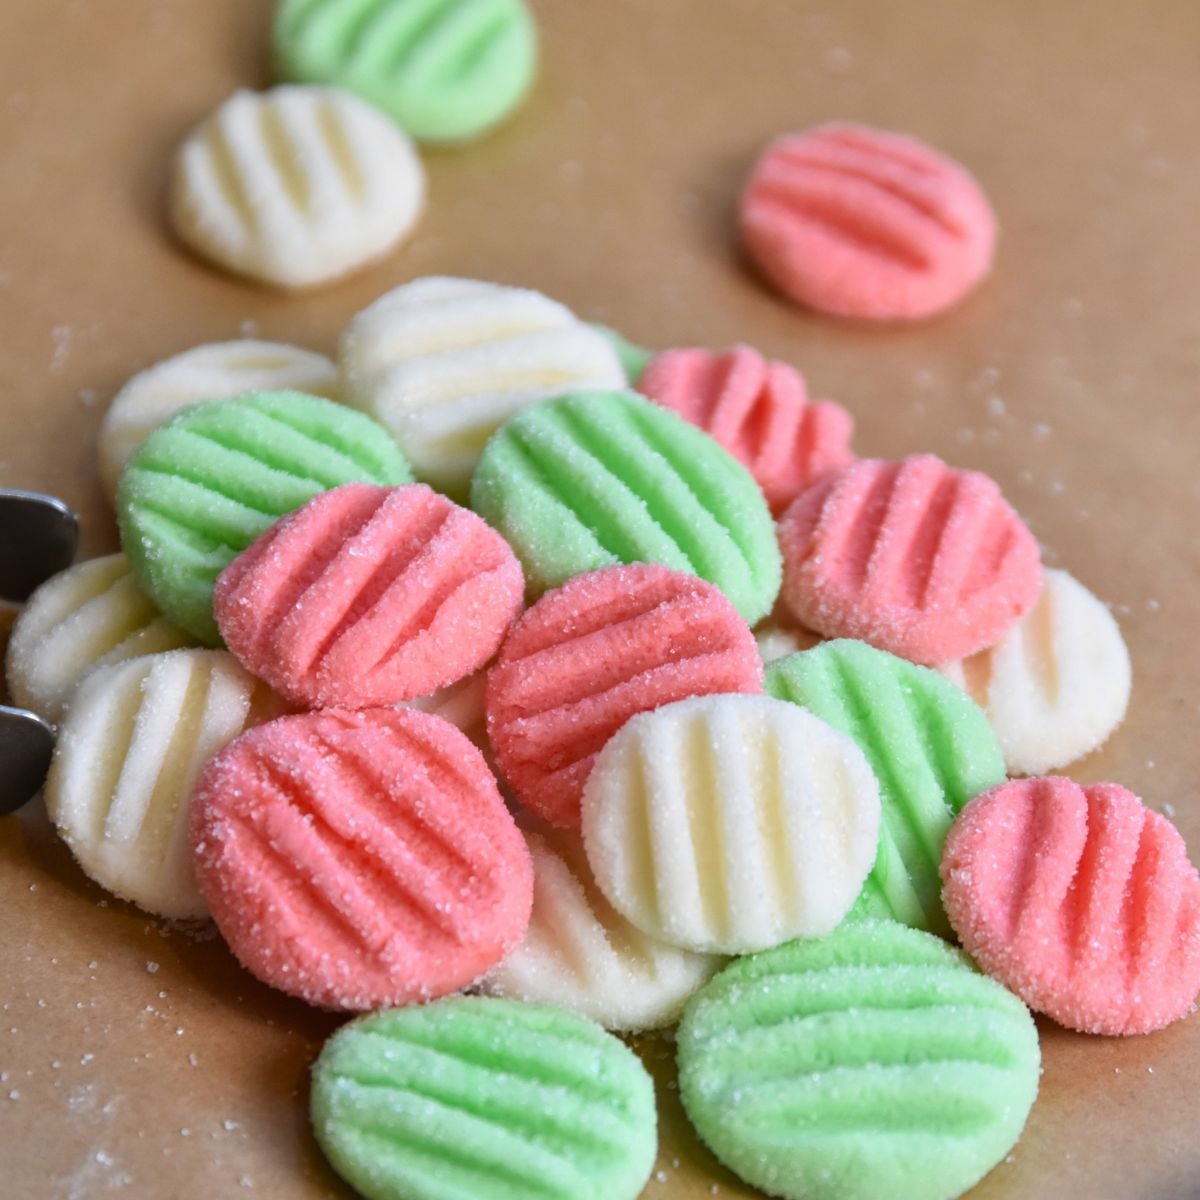
Easy 5-Ingredient Party Mints
Before there were fancy candy shops and Pinterest boards, there were Cream Cheese Mints. These soft, creamy little pillows were the star of vintage wedding showers, church receptions, and holiday candy dishes.
Add a piece of cake, a sweet punch, and some salty mixed nuts - Shower menu complete.
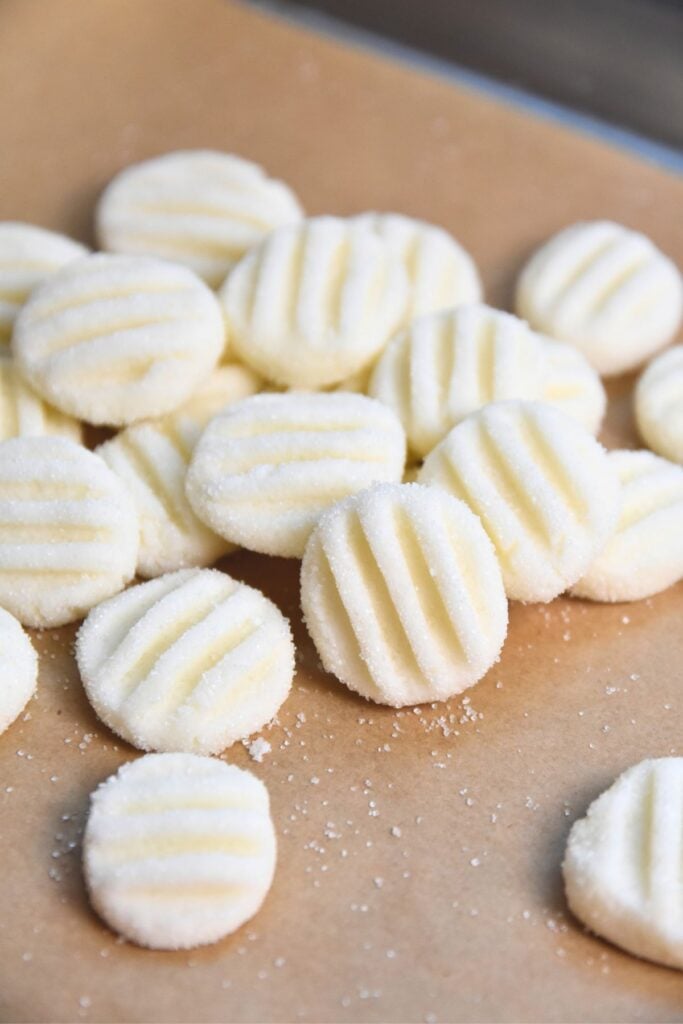
These retro mints need just five ingredients, no oven, and no candy thermometer. Roll, press with a fork, let them dry, and you've got a tray of tender, melt-in-your-mouth mints that everyone will exclaim "I love these little mints!" as they pile up their plate.
And one drop of food coloring paste turns the whole batch into whatever your party needs. Pink or blue for a baby shower, red and green for Christmas, soft pastels for a spring lunch.
And... They are the perfect addition for a holiday cookie box. Tuck a few between the toffee and the thumbprints, and watch them disappear first.

Ingredients (Why They Matter)
Food Coloring Paste: Paste is potent and has very little water in it. That means you get vivid color without making the dough wet. Skip it entirely for classic white mints.
Cream Cheese: This is the whole personality of the mint. It gives the tang that keeps these from tasting like straight sugar, and the soft body that makes them melt on your tongue. Use the brick, not the whipped tub, because the tub carries extra air and moisture that turns the dough sticky.
Butter: A small amount does a big job. It rounds out the cream cheese and adds a smooth, rich finish.
Confectioners' Sugar: This is the structure, not just the sweetness. It's what turns soft cream cheese into a dough you can roll. The fine grind dissolves instantly, so there's no grittiness.
Peppermint Oil: Oil is concentrated, which is why we're talking drops. It delivers a clean, cool mint with no extra liquid to loosen the dough.
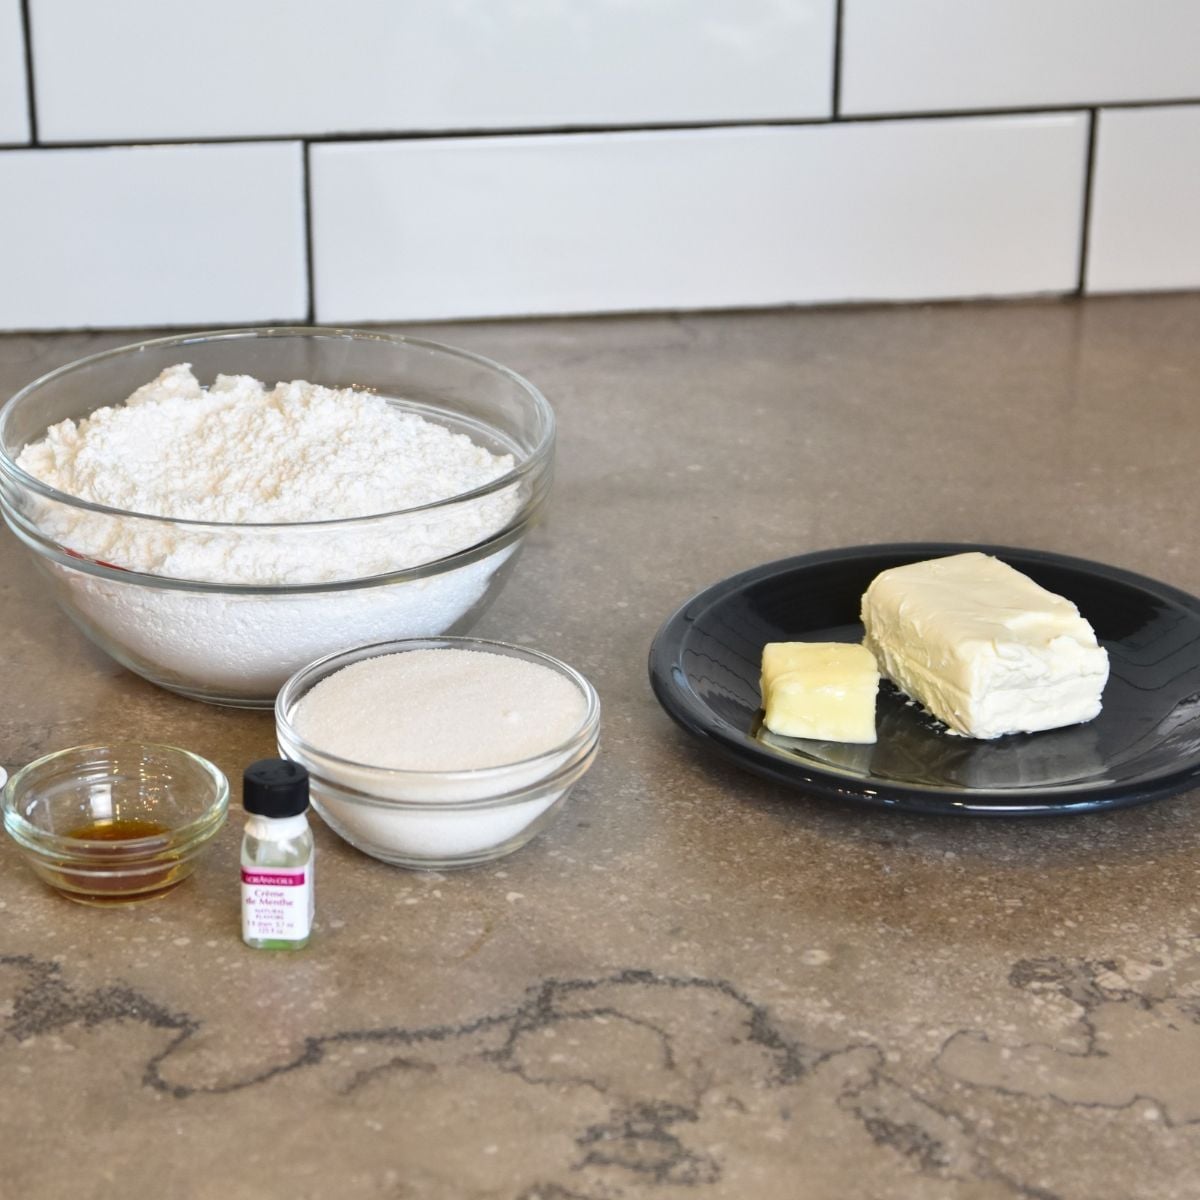
See recipe card for quantities.
How to Make Cream Cheese Mints
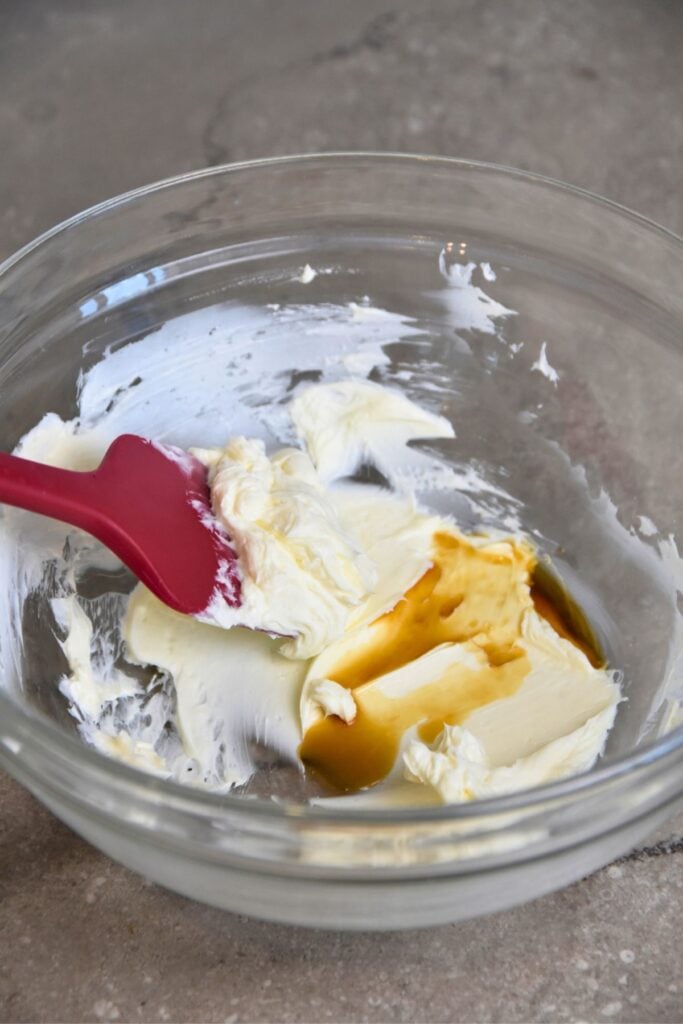
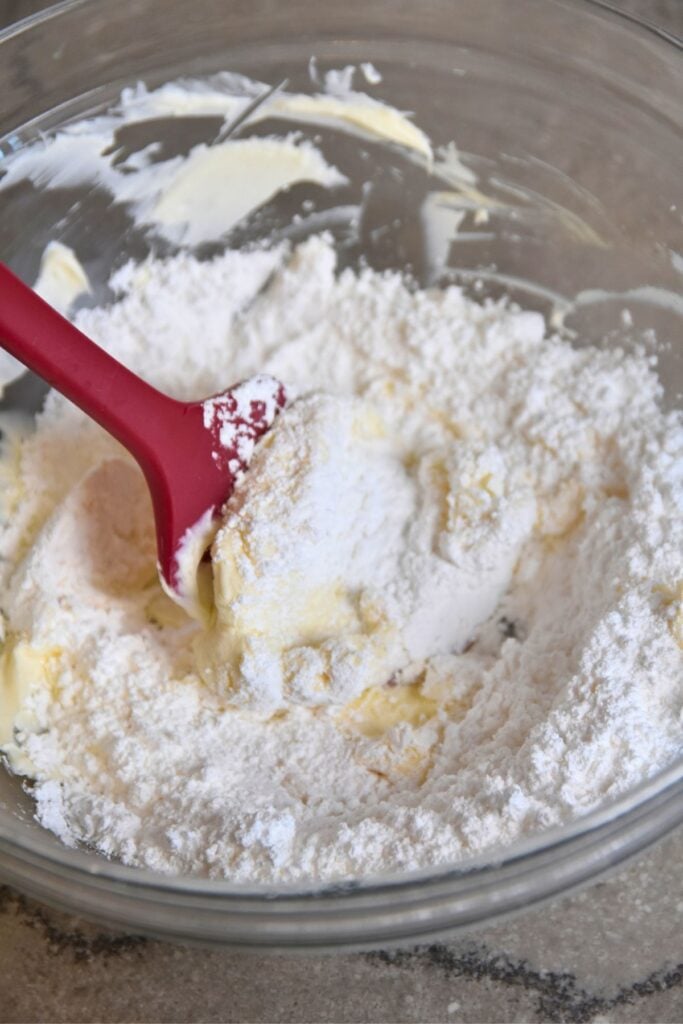
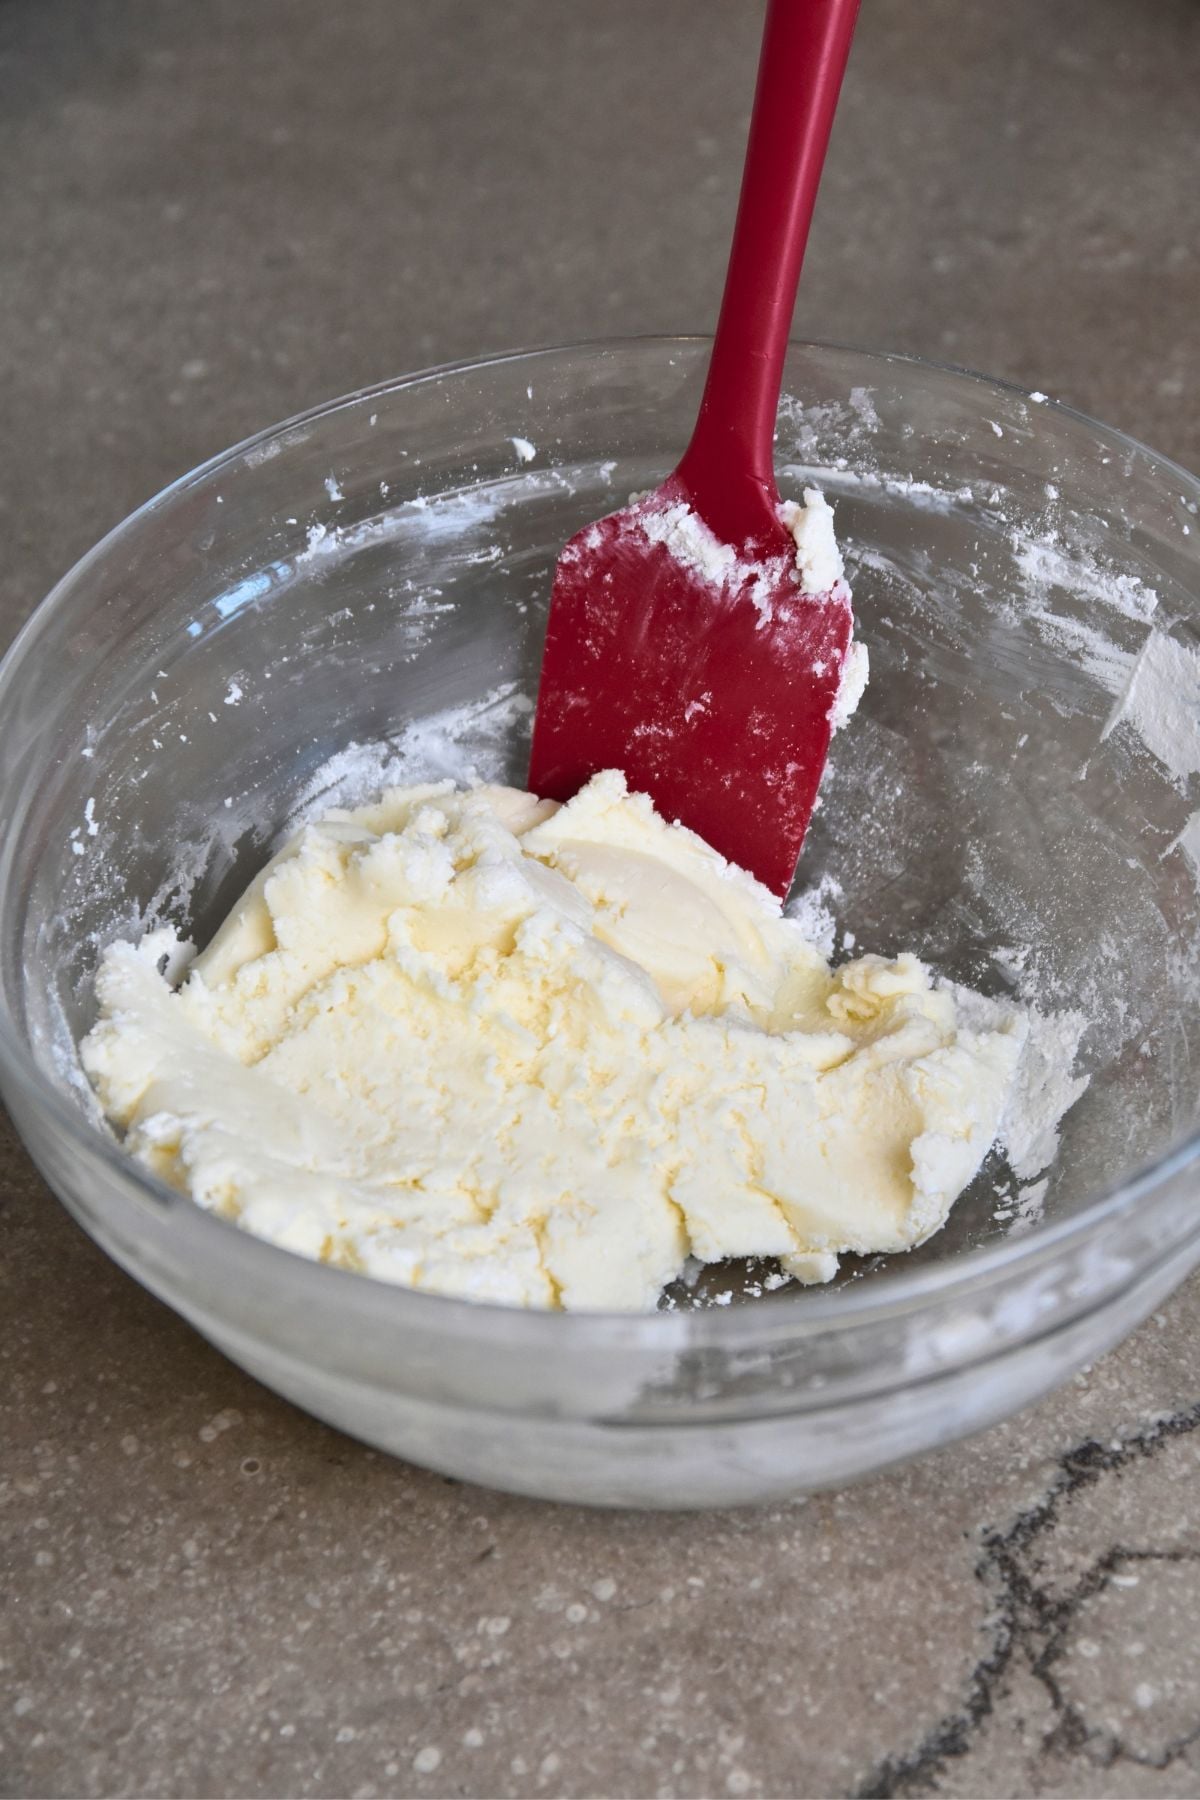
1. Build the Dough: Mix the softened cream cheese and butter with the confectioners' sugar until it comes together into a smooth, thick dough. Softened ingredients blend evenly, so you don't get cream cheese lumps hiding in there.
2. Flavor and Color: Mix in the peppermint oil, then tint with a touch of color paste if you want. Add flavor and color at this stage so it distributes evenly through the whole dough, not just the surface.
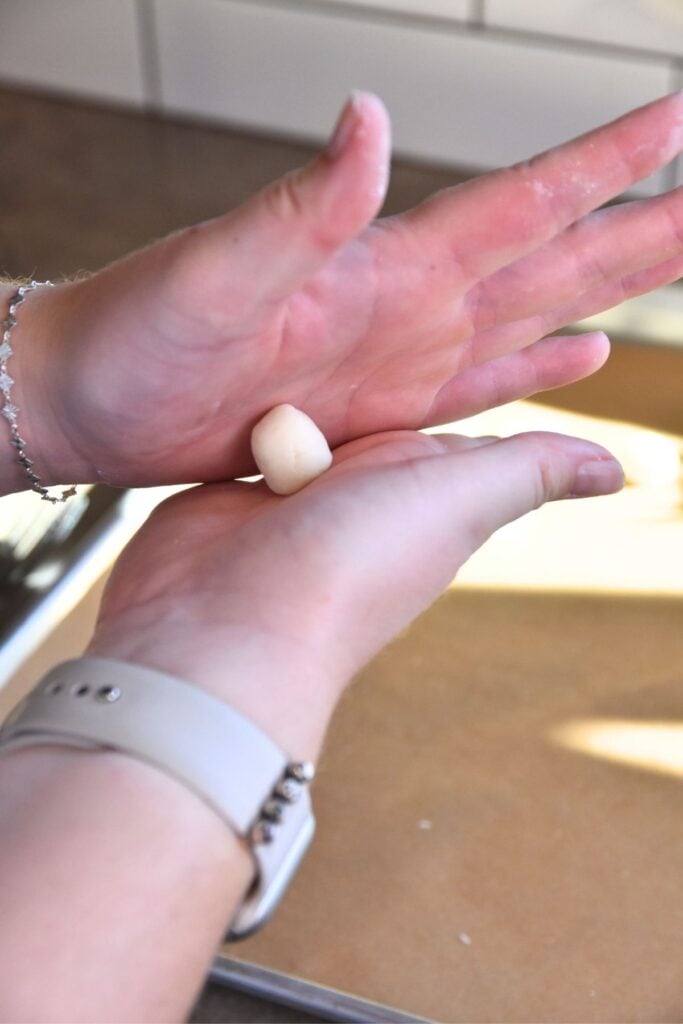
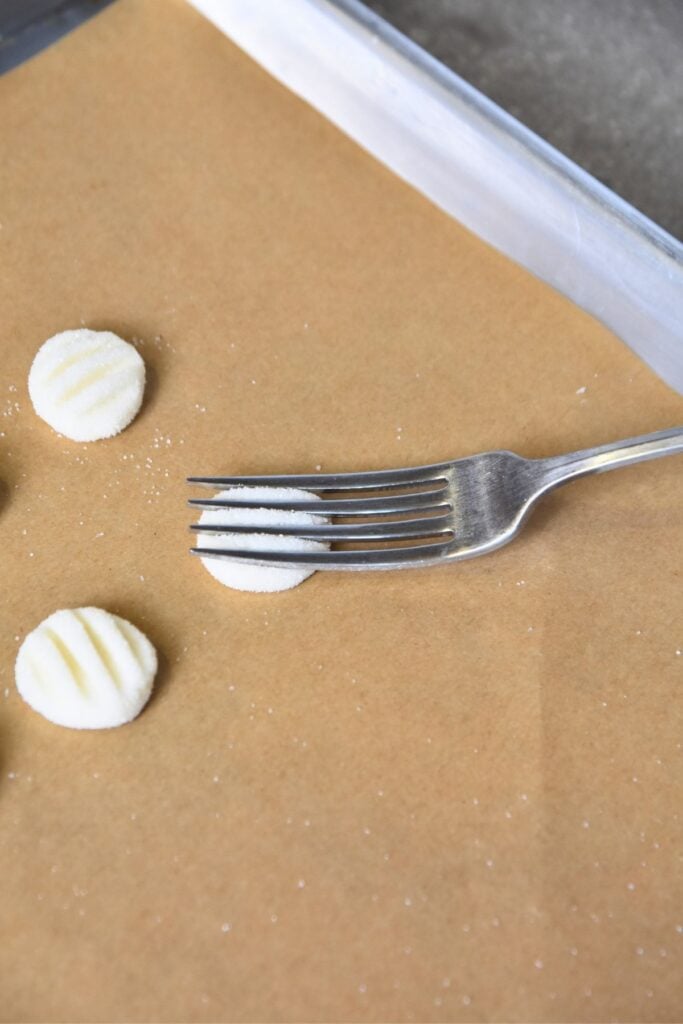
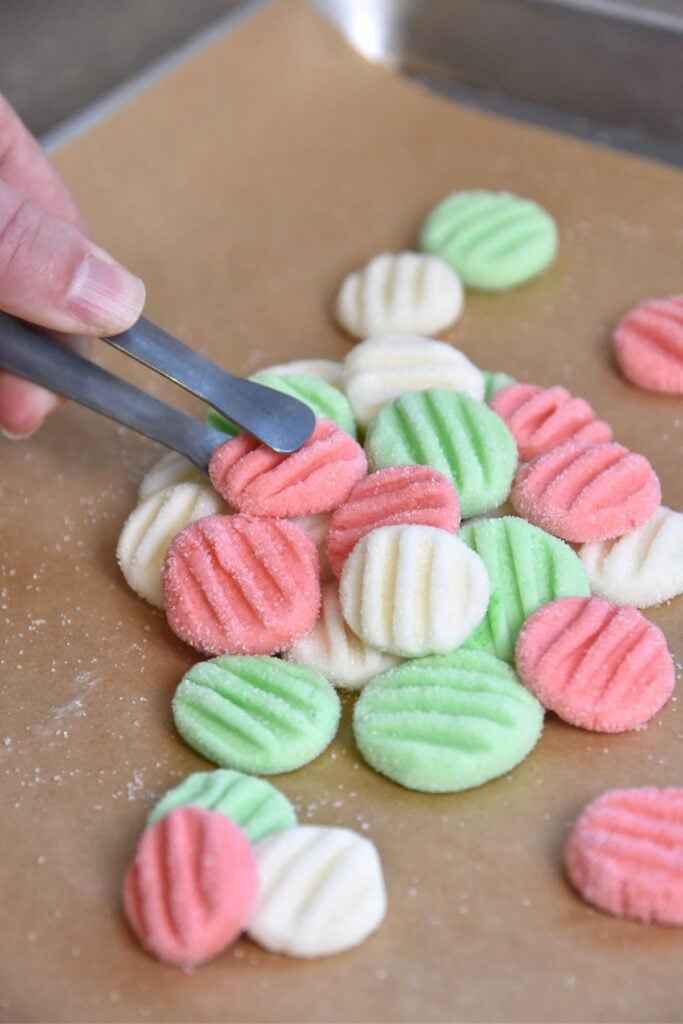
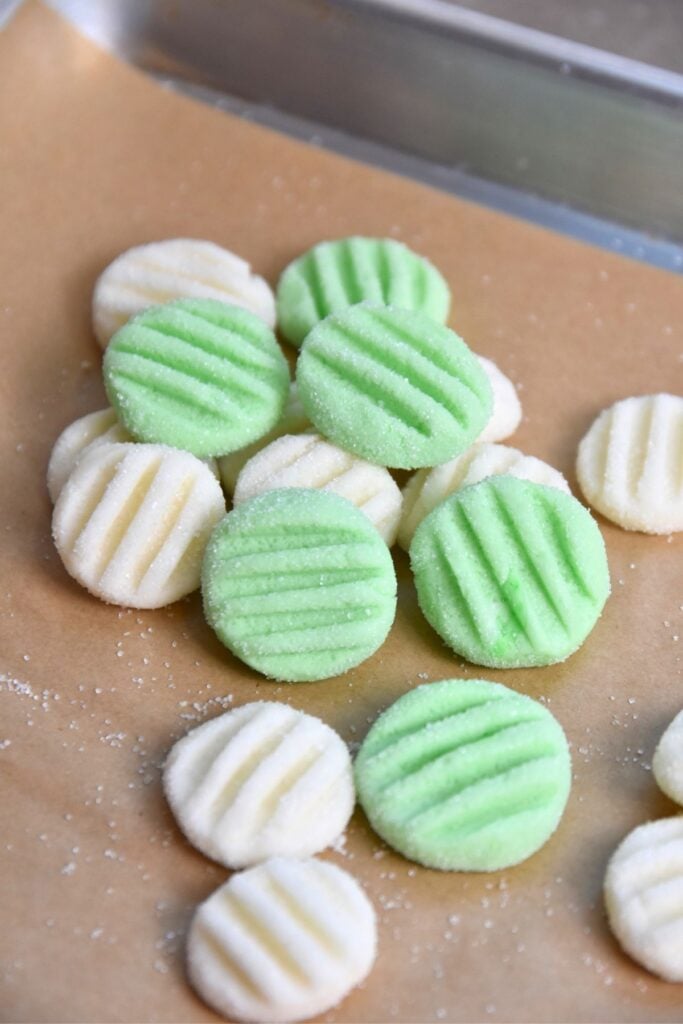
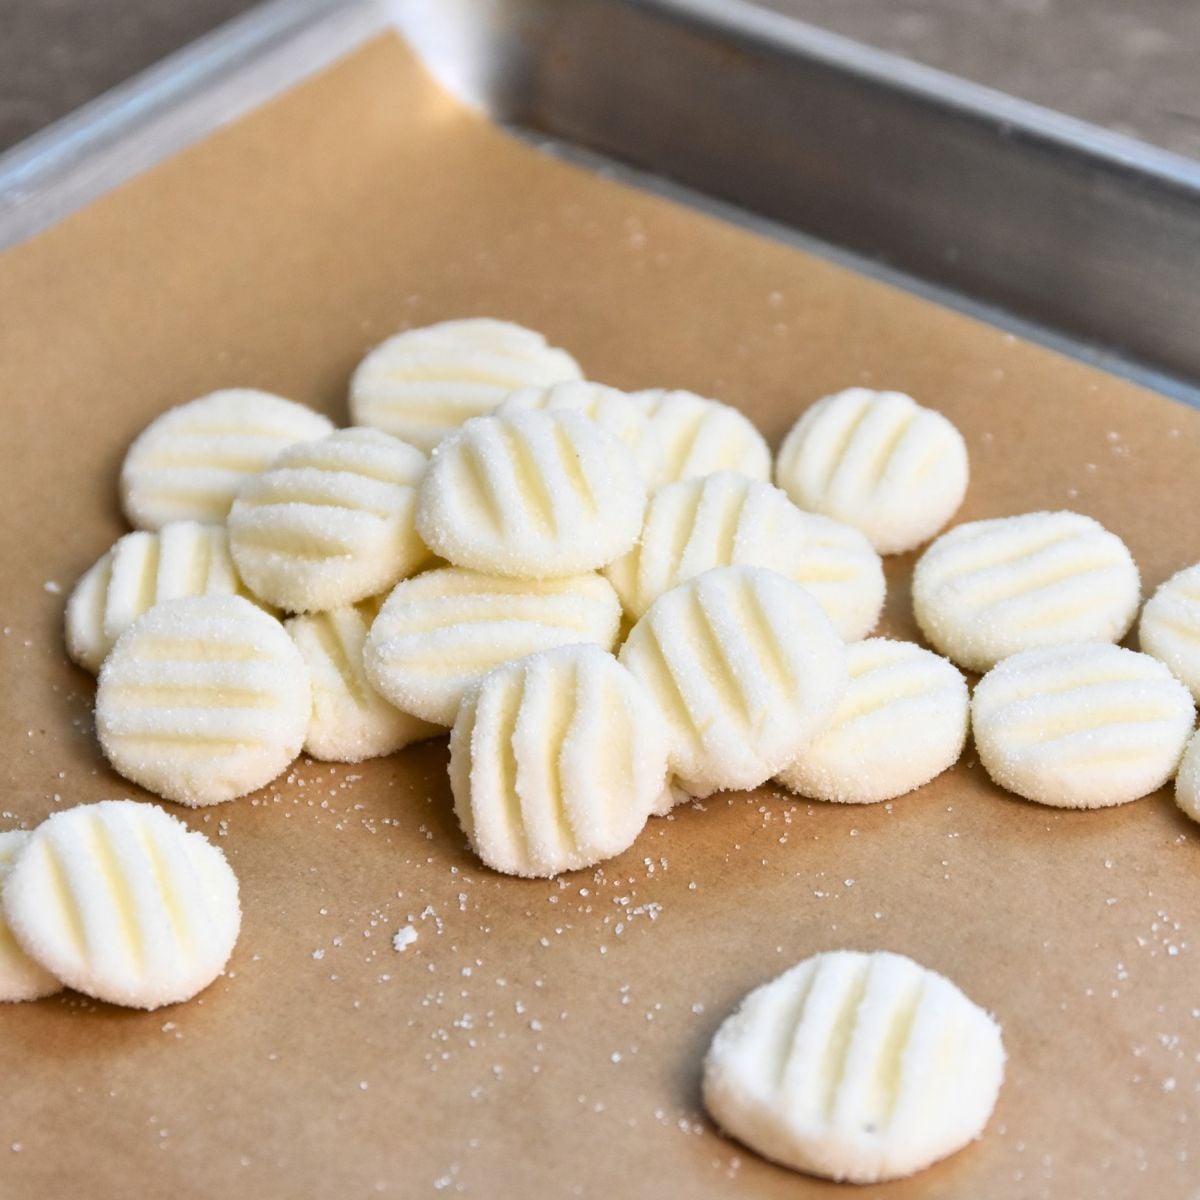
3. Roll and Flatten: Roll small, even balls, roll in sugar to coat, and set them on wax paper. Press each one flat with a fork. The sugar on the fork keeps the soft dough from sticking, and the press leaves the classic ridged top.
4. Let Them Dry: Leave the mints on the wax paper to dry for at least two hours. This is where the magic happens. The surface firms up so they hold their shape and lift off cleanly, while the inside stays tender.
5. Chill or Freeze: Once they're dry, move them to the fridge or freezer. Cold finishes the set and keeps them fresh.
In-a-Pinch Swaps
- Peppermint Extract for Oil: Extract is much milder than oil, so you'd need more. Taste as you go.
- Liquid Food Coloring for Paste: It works for color, but it adds moisture. Go easy and add a bit more sugar if the dough gets tacky.
- Salted or Unsalted Butter: Either works. Salted adds a faint savory edge that plays well with the sweet mint.
Creative Variations
- Baby-Shower Pastels: Tint batches in soft pink, mint green and baby blue, and arrange them on a tray.
- Candy Cane Crunch: Press the tops into crushed candy canes for crunch and a bright red-and-white look.
- Chocolate-Dipped Half Moons: Dip half of each cooled mint in melted chocolate. Mint and chocolate always get along.
- Lemon or Almond Twist: Swap the peppermint for another flavoring for a different party flavor.
Storage
- Can You Freeze It?: Yes. Freeze the dried mints in a single layer first, then transfer to a freezer container with waxed paper between layers.
- The Container Matters: Use an airtight container so the mints don't pick up fridge odors.
- The Fridge Life: Because these contain cream cheese, they belong in the fridge, not the pantry. They're best served cold or cool, straight from storage.
Cooking for One or Two
This size batch makes it easy to leave a few mints out and tuck the rest in the freezer for later. Pull out just a few at a time when you want a little sweet, minty treat.
FAQ
Usually it's moisture from whipped cream cheese or liquid food coloring, or the cream cheese was too warm. Use block cream cheese and paste color. If the dough is soft, chill it briefly before rolling.
Yes, but extract is much weaker than oil. Start with a small amount and taste, since too much liquid can loosen the dough.
Cream cheese is perishable, so 2 hours is the limit. Put what you think will be eaten out and refill as needed.
Related
Looking for other recipes like this? Try these:




Fresh Out of the Kitchen: What We're Cooking Right Now



Share the Love
Leave a comment and I'll do my best to answer you!
And, if you made this recipe, please let me know how you liked it by leaving a comment and/or giving a rating!
And of course, if you do make this recipe, tag @laughingroostereats on Instagram and hashtag it #laughingroostereats! Seeing your photos is our favorite thing!
Cream Cheese Mints (Easy 5-Ingredient Party Mints)
Ingredients
Method
- In a large bowl, combine cream cheese, butter, and powdered sugar. Mix in peppermint oil and food coloring paste. Using your hands to knead ingredients togeether.
- Roll mixture into small balls, then sugar, and place on waxed paper. Flatten with a fork. Let dry for about 2 hours on waxed paper, then freeze or refrigerate.